Unleashing the Power of Home Automation: The Best Home Server Solution for Home Assistant Using Raspberry Pi
Introduction to Home Automation and Home Servers
In today’s fast-paced world, home automation has become an essential part of our lives. The ability to control and monitor various aspects of our homes remotely offers convenience, security, and energy efficiency. One of the key components of a robust home automation system is a reliable home server. In this article, I will guide you through the process of setting up the best home server solution for home automation using Raspberry Pi.
Benefits of Using a Home Server for Home Automation
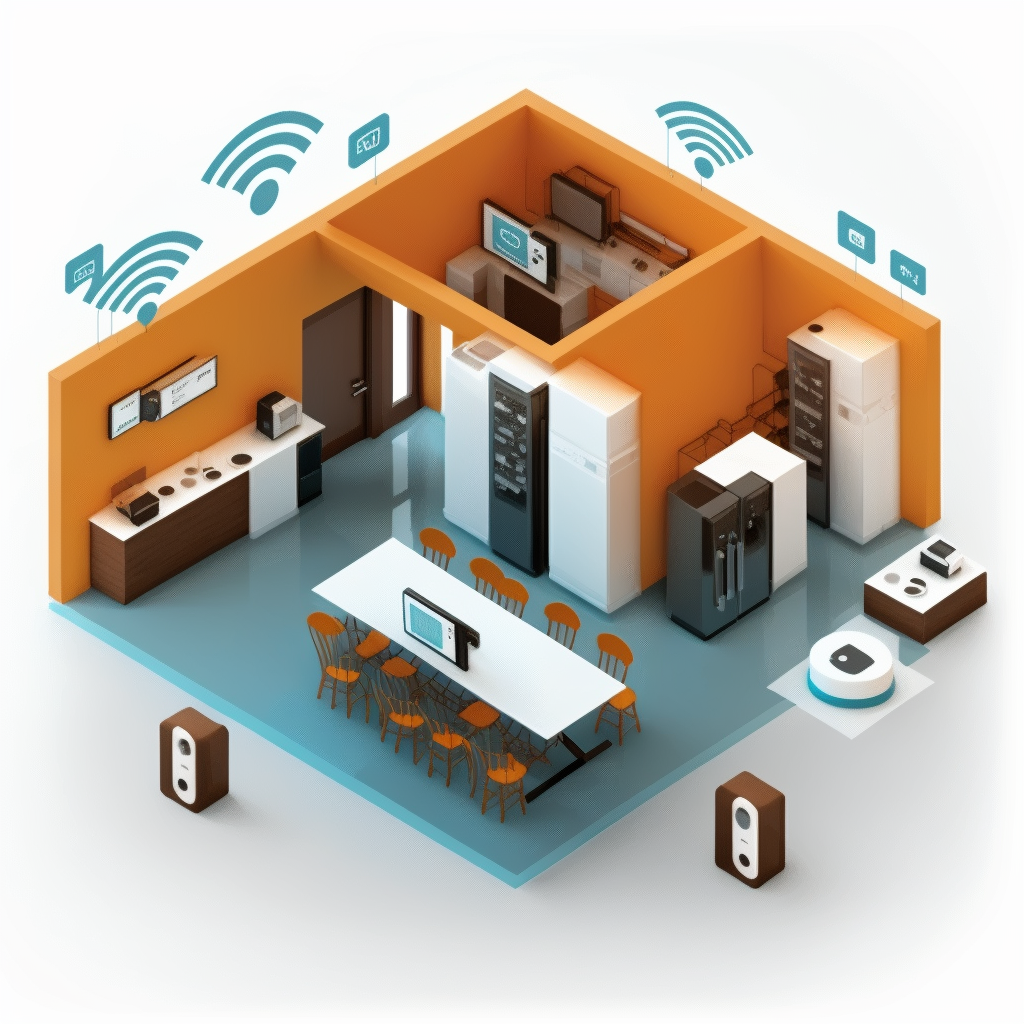
A home server is a centralized hub that connects all your smart devices and allows you to control them from a single interface. It offers numerous benefits, including:
- Centralized Control: With a home server, you can control all your smart devices, such as lights, thermostats, cameras, and security systems, from a single app or interface. This makes it convenient and easy to manage your home automation system.
- Enhanced Security: A home server acts as a firewall, protecting your smart devices from external threats. It adds an extra layer of security by isolating your smart devices from the internet and offering secure access through encrypted connections.
- Energy Efficiency: By integrating your smart devices with a home server, you can optimize their usage and reduce energy consumption. For example, you can schedule your lights to turn off automatically when you’re not at home, or adjust the temperature settings of your thermostat based on your occupancy patterns.
- Increased Compatibility: A home server ensures compatibility between different smart devices and protocols. It acts as a bridge, allowing devices that use different communication standards to work together seamlessly.
Understanding Raspberry Pi as a Home Server Solution
Raspberry Pi is a credit card-sized computer that can be used as a versatile home server solution for home automation. It offers a cost-effective and customizable option for setting up your home automation system. Here are some key features of Raspberry Pi as a home server:
- Low Power Consumption: Raspberry Pi consumes very little power, making it an energy-efficient choice for a home server. You can leave it running 24/7 without worrying about a significant increase in your electricity bill.
- Flexibility and Customizability: Raspberry Pi runs on open-source software, which means you have the freedom to customize and optimize your home server according to your specific needs. You can install various operating systems and software packages to tailor your setup.
- Expandability: Raspberry Pi offers numerous expansion options through its GPIO (General Purpose Input/Output) pins. You can connect additional hardware modules, such as sensors and relays, to extend the functionality of your home server.
Comparing Different Home Server Options – Raspberry Pi, BeeLink, and Lenovo ThinkCentre
While Raspberry Pi is an excellent choice for a home server, it’s worth considering other options to make an informed decision. Let’s compare Raspberry Pi with two popular alternatives – BeeLink and Lenovo ThinkCentre:
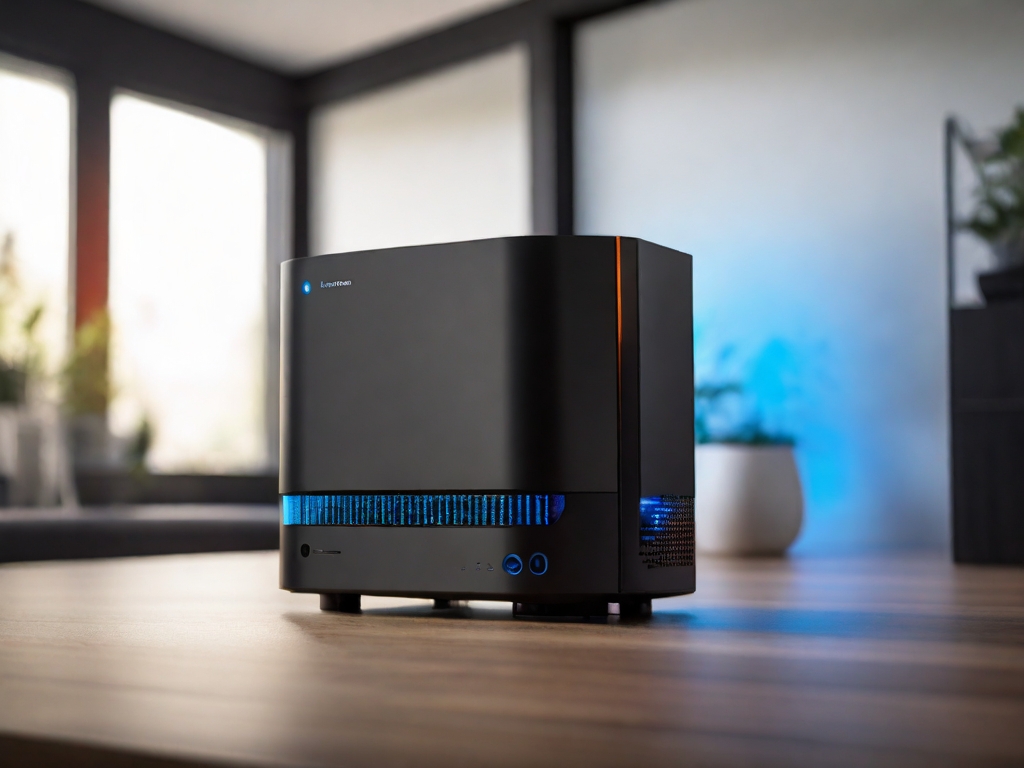
- BeeLink: BeeLink is a compact mini PC that offers good performance and expandability. It runs on Windows or Linux operating systems and can handle multiple tasks simultaneously. However, it consumes more power compared to Raspberry Pi and may not be as cost-effective.
- Lenovo ThinkCentre: Lenovo ThinkCentre is a small form factor desktop computer that can be used as a home server. It offers higher processing power and storage capacity compared to Raspberry Pi. However, it comes at a higher price point and may be overkill for a basic home automation setup.
After considering the pros and cons of each option, Raspberry Pi stands out as the best choice for a home server solution, considering its low power consumption, flexibility, and expandability.
Setting Up a Home Server Using Raspberry Pi for Home Assistant
Now that you’ve decided to use Raspberry Pi as your home server solution, let’s walk through the process of setting it up for Home Assistant, one of the most popular home automation platforms:
- Step 1: Gather the Required Components: To set up a home server using Raspberry Pi, you’ll need a Raspberry Pi board, a microSD card, a power supply, and an Ethernet cable. You may also want to consider a case for Raspberry Pi to protect it from dust and physical damage.
- Step 2: Install the Operating System: Download the latest version of Raspberry Pi OS from the official website and flash it onto the microSD card using a tool like Etcher. Insert the microSD card into the Raspberry Pi and power it up.
- Step 3: Configure Raspberry Pi: Follow the on-screen instructions to set up the basic configurations, such as language, timezone, and password. Connect Raspberry Pi to your home network using the Ethernet cable.
- Step 4: Install Home Assistant: Open a web browser on your computer and enter the IP address of the Raspberry Pi to access the Raspberry Pi OS desktop. From there, you can install Home Assistant using the official installation instructions.
- Step 5: Customize Your Home Automation System: Once Home Assistant is installed, you can start configuring and customizing your home automation system. Add your smart devices, create automations, and explore the various integrations available to enhance your smart home experience.
By following these steps, you can set up a powerful home server using Raspberry Pi and unleash the full potential of Home Assistant.
Exploring the Features and Capabilities of Home Assistant
Home Assistant is an open-source home automation platform that offers a wide range of features and capabilities. Here are some key aspects of Home Assistant that make it a popular choice:
- User-Friendly Interface: Home Assistant provides a user-friendly interface that allows you to control and monitor your smart devices with ease. You can create customized dashboards, organize your devices into groups, and access them from any device with a web browser.
- Extensive Device Compatibility: Home Assistant supports a vast range of smart devices and protocols, including popular brands like Philips Hue, Nest, and Sonos. It ensures seamless integration and allows you to control all your devices from a single interface.
- Automation and Scripting: Home Assistant offers powerful automation and scripting capabilities. You can create complex automations based on triggers, conditions, and actions, allowing you to automate routine tasks and enhance the efficiency of your home automation system.
- Community and Integrations: Home Assistant has a vibrant community of developers and enthusiasts who contribute to its development. It offers a wide range of integrations and plugins that enhance the functionality and compatibility of your home automation system.
With its intuitive interface, extensive device compatibility, and powerful automation capabilities, Home Assistant is a versatile platform that can transform your home into a smart and connected space.
Configuring and Customizing Your Home Automation System with Home Assistant
Once you have set up your home server using Raspberry Pi and installed Home Assistant, it’s time to configure and customize your home automation system. Here are some tips to get started:
- Add Smart Devices: In the Home Assistant dashboard, navigate to the Integrations section and add your smart devices. Home Assistant will automatically detect and configure most devices, making the setup process hassle-free.
- Create Automations: Automations allow you to define a set of actions that occur automatically based on specific triggers and conditions. You can create simple automations, such as turning on the lights when you arrive home, or more complex ones that involve multiple devices and conditions.
- Customize Dashboards: Home Assistant allows you to create customized dashboards to monitor and control your smart devices. You can organize your devices into groups, create tabs for different rooms or functionalities, and add widgets to display relevant information.
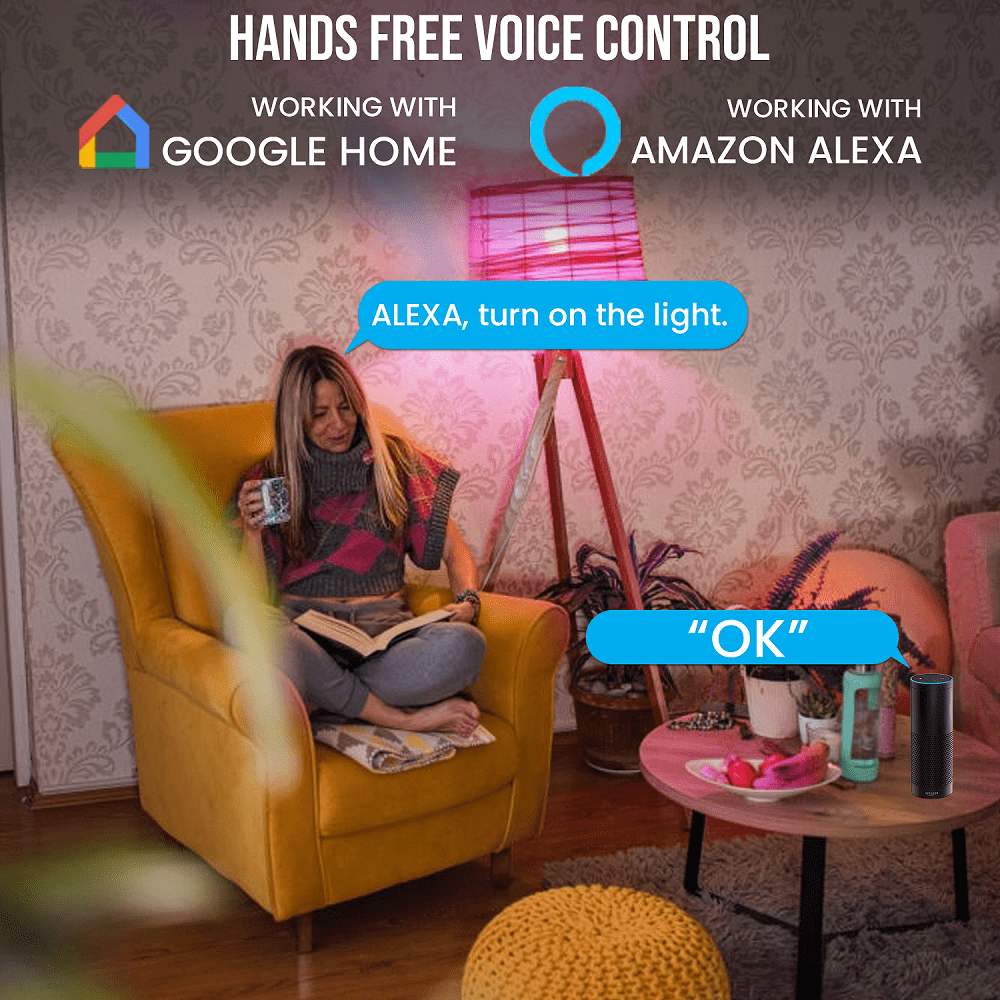
- Explore Integrations: Home Assistant offers a wide range of integrations with popular smart home platforms and services. Explore the available integrations to enhance the functionality of your home automation system. For example, you can integrate your home server with voice assistants like Amazon Alexa or Google Assistant for voice control.
By configuring and customizing your home automation system with Home Assistant, you can tailor it to your specific needs and preferences, making your smart home experience truly personalized.
The Advantages of a Multi-Purpose Home Server for Home Automation
A multi-purpose home server offers several advantages over a dedicated home automation server. Here’s why you should consider using Raspberry Pi as a multi-purpose home server for home automation:
- Cost-Effectiveness: Raspberry Pi is an affordable option compared to dedicated home automation servers. By using it as a multi-purpose server, you can maximize its value and save money.
- Versatility: Raspberry Pi can be used for various applications beyond home automation. You can set up additional services, such as media servers, file servers, or home security systems, all on a single device.
- Scalability: Raspberry Pi’s expandability allows you to add more functionality and devices as your needs grow. You can easily upgrade or replace components to meet the demands of your expanding home automation system.
- Learning Opportunity: Using a multi-purpose home server gives you the opportunity to learn and explore different technologies and applications. Raspberry Pi’s open-source nature encourages experimentation and fosters a deeper understanding of home automation and computing.
By harnessing the power of a multi-purpose home server, you can create a versatile and future-proof home automation system that adapts to your evolving needs.
Tips for Optimizing and Maintaining Your Home Server Solution
To ensure the smooth operation of your home server solution, it’s essential to optimize and maintain it regularly. Here are some tips to keep your Raspberry Pi home server running efficiently:
- Regular Updates: Keep your Raspberry Pi OS and Home Assistant up to date by installing the latest updates and patches. This ensures that you have access to the latest features, bug fixes, and security enhancements.
- Backup Your Configuration: Regularly back up your Home Assistant configuration to prevent the loss of your settings and automations. This allows you to restore your system quickly in case of any issues or hardware failures.
- Monitor Performance: Use monitoring tools like Grafana and Prometheus to keep track of your home server’s performance. Monitor resource usage, network traffic, and system health to identify any bottlenecks or issues that may impact the stability of your home automation system.
- Secure Remote Access: If you need remote access to your home server, ensure that you set up secure access using encrypted connections and strong passwords. Consider using a VPN (Virtual Private Network) for an added layer of security when accessing your home automation system remotely.
By following these optimization and maintenance tips, you can ensure the reliability and longevity of your home server solution.
Conclusion and Recommended Resources for Setting Up a Home Server with Raspberry Pi and Home Assistant
Setting up a home server using Raspberry Pi for home automation is a powerful and cost-effective solution. With the flexibility of Raspberry Pi and the extensive capabilities of Home Assistant, you can create a smart and connected home that enhances your lifestyle.
To further explore the world of home automation and Raspberry Pi, here are some recommended resources:
- Official Raspberry Pi Website: Visit the official Raspberry Pi website for detailed documentation, tutorials, and community forums.
- Home Assistant Community: Join the Home Assistant community to connect with other enthusiasts, seek assistance, and explore the latest integrations and plugins.
- Raspberry Pi Projects: Explore various Raspberry Pi projects to discover innovative ways to use Raspberry Pi for home automation and beyond.
With the right tools, knowledge, and enthusiasm, you can unleash the full potential of home automation using Raspberry Pi as your home server solution. Start your journey today and transform your home into a smart and connected space.
Note: This article is for informational purposes only and does not constitute professional advice. Always consult the official documentation and seek expert guidance when setting up and configuring your home automation system.